

Hanging & Installation, Blog, Wall Art Tips & Advice
How High to Hang Pictures & Paintings? The Correct Height Formula
Nothing ruins a beautiful piece of art faster than hanging it at the wrong height. Whether you’re decorating a living room, hallway, or gallery wall, precise placement ensures your pictures look balanced and professional.
This guide covers the industry-standard height formula, adjustments for 8, 9, 10, and 12-foot ceilings, and room-specific rules—complete with pro tips and tables for foolproof hanging.
Why Picture Height Matters
Your eyes naturally look for artwork at a specific height. Museums and galleries position art at this level for maximum comfort.
When pictures hang too high, they feel disconnected from the room. When they hang too low, furniture overwhelms them. The right height creates perfect balance.
Research shows people spend more time looking at art that is properly positioned. They also report higher satisfaction with the room’s appearance.
The key is eye-level placement. This varies slightly between standing and sitting positions. Professional designers use the average to please most viewers.

The Basic Height Rule (57-60)
The main rule is simple: Hang pictures so the center sits 57-60 inches from the floor.
This height works because it matches the average eye level. Most people are around 5 feet 6 inches tall. When they look straight ahead, their eyes are about 60 inches from the floor.
Why this height works:
- Comfortable to view while standing or sitting
- Looks natural and balanced
- Works in most rooms and situations
- Matches what art galleries use
Picture Hanging Height Formula
Use this simple math to find the exact spot for your hook:
- Measure your picture height (example: 24 inches)
- Divide by 2 to find the center (24 ÷ 2 = 12 inches)
- Measure from frame top to hanging wire (example: 3 inches)
- Subtract wire distance from center (12 – 3 = 9 inches)
- Add to standard height (57 + 9 = 66 inches)
Result: Put your hook at 66 inches from the floor. Your picture center will sit at the perfect 57-inch height.
Quick Formula Reference
| Picture Size | Center Point | Wire Distance | Hook Height |
| 16 inches | 8 inches | 2 inches | 63 inches |
| 24 inches | 12 inches | 3 inches | 66 inches |
| 36 inches | 18 inches | 4 inches | 71 inches |
Converting to Centimeters
The best height to hang pictures in cm is 145 centimeters from the floor to the artwork center. This equals the 57-inch rule.
Use these conversions:
- Standard height: 145 cm
- Typical range: 140-150 cm
- Above furniture: 15-25 cm above the furniture top
Adjusting for Different Ceiling Heights
Your ceiling height changes where pictures should hang. Higher ceilings need higher picture placement to look balanced.
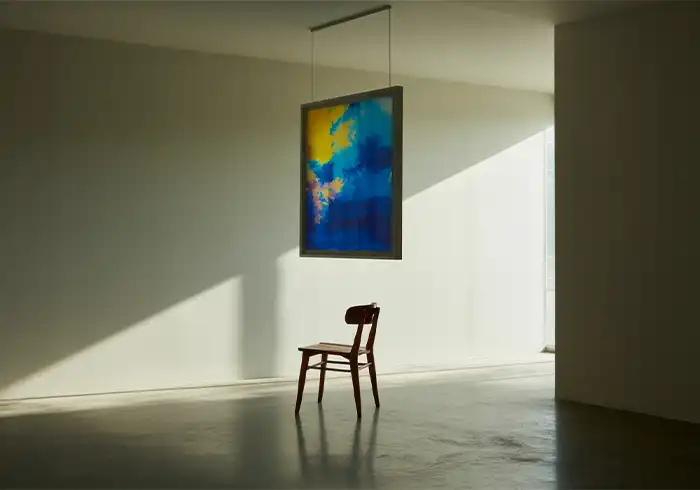
8-Foot Ceilings
Use the standard rule: 57-60 inches to the center. These normal height ceilings work perfectly with the basic formula.
Don’t hang pictures higher than 60 inches. This makes the ceiling feel even lower than it already is.
9-Foot Ceilings
Raise your pictures slightly: 60-62 inches to the center. This extra height uses the wall space better without looking too high.
The added ceiling height gives you room to go a bit higher while still feeling natural.
10-Foot Ceilings
Hang pictures at 62-65 inches to the center. This higher placement prevents pictures from looking lost on tall walls.
Consider using larger artwork or grouping multiple pictures together. Single small pictures can get lost on these tall walls.
12-Foot and Higher Ceilings
Place picture centers at 65-68 inches from the floor. Very tall ceilings need higher placement to look proportional.
Use large statement pieces or create gallery walls that fill more vertical space. Small pictures look tiny on very tall walls.
Ceiling Height Quick Reference:
- 8 feet: 57-60 inches to center
- 9 feet: 60-62 inches to center
- 10 feet: 62-65 inches to center
- 12+ feet: 65-68 inches to center
Room-Specific Height Rules
Different rooms have different viewing needs. Adjust your picture height based on how people use each space.
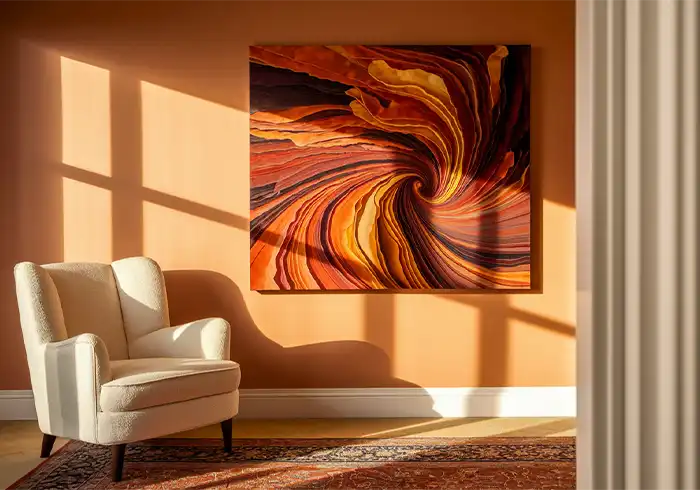
Living Room Pictures
Use the standard 57-60 inch rule for walls without furniture. This works well for spaces where people mostly stand and walk around.
If people mostly sit in your living room, lower pictures to 50-54 inches to the center. This makes art more comfortable to view from sofas and chairs.
Consider your main seating areas. Pictures should be easily visible from where people spend most of their time.
Above Sofa or Couch Placement
Place the bottom of your picture frame 6-10 inches above the sofa back. This creates a clear connection between the furniture and art.
Your artwork width should cover about two-thirds of your sofa’s width. This creates a good proportion between the furniture and art.
Example: If your sofa is 84 inches wide, your art should be about 56 inches wide (84 × ⅔ = 56).
Avoid tiny pictures over large sofas. They look lost and unbalanced. Group small pictures together or choose larger pieces.
Dining Room Heights
Hang pictures slightly lower in dining rooms: 55-57 inches to the center. Since people spend most of their time sitting at dining tables, placing it lower works better.
Make sure pictures don’t interfere with pendant lights or chandeliers. Leave enough space for proper lighting and head clearance.
Bedroom Picture Placement
Above beds, place the bottom of frames 8-12 inches above the headboard. This creates a clear relationship between the bed and the artwork.
For walls without beds, use the standard 57-60 inch rule. Bedroom pictures should be comfortable to view while getting dressed or moving around.
Hallway Guidelines
Stick to the standard 57-60 inches in hallways. People walk through these spaces standing up, so eye-level height works best.
Hallways often have consistent ceiling heights, making the standard rule perfect for creating flow between rooms.

Common Height Mistakes to Avoid
- Hanging too high (over 65 inches): Makes people crane their necks to see art. Pictures feel disconnected from the room and furniture.
- Hanging too low (under 54 inches): Creates a cramped feeling, especially over furniture. Art can get damaged by people or pets bumping into it.
- Ignoring furniture scale: Small pictures over large furniture look lost. Large pictures over small furniture look overwhelming.
- Forgetting about seating: Pictures that look perfect while standing might be too high for seated viewing in living rooms or dining areas.
- Not considering room function: Bedrooms, kitchens, and offices have different viewing needs than formal living spaces.
Tools for Perfect Picture Hanging
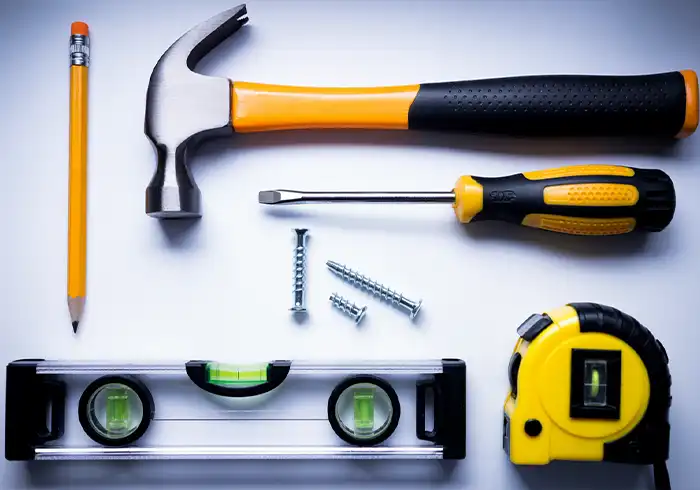
- Laser level: Creates perfectly straight lines for multiple pictures. Much more accurate than bubble levels for large arrangements.
- Measuring tape: Essential for the height formula and checking distances between multiple pieces.
- Pencil: Mark hook positions lightly before making holes. Easier to erase than pen if you need to adjust.
- Picture hanging apps: Some smartphone apps help you visualize placement before making holes in walls.
- Paper templates: Cut paper the same size as your pictures. Tape them on the walls to test arrangements before hanging.
Professional Tips for Best Results
Test first: Use paper cutouts or painter’s tape to mark picture positions before making any holes. This prevents costly mistakes.
Consider lighting: Make sure your chosen height doesn’t put pictures in shadow from overhead lights or lamps.
Think about traffic flow: People should be able to appreciate your pictures while moving naturally through the space.
Group wisely: Multiple pictures should work together as a unit. Plan the whole arrangement, not just individual pieces.
Use quality hardware: Cheap picture hooks can cause pictures to become crooked or fall. Invest in proper hanging hardware rated for your frame weights.
Double-check measurements: Measure twice, hang once. Write down your calculations before starting to avoid mental math errors.
Quick Reference Summary
Standard height: 57-60 inches to the picture center
Above furniture: 6-10 inches above the furniture top
High ceilings: Add 2-8 inches to standard height
Seated viewing: Lower to 50-54 inches to center
Multiple pictures: Keep 2-3 inches between frames
Formula reminder: (Picture height ÷ 2) – wire distance + 57 = hook height
Start with these basic rules and adjust based on your specific room, ceiling height, and furniture. The right picture height makes your art look intentional and professional instead of randomly placed.
Further Reading
- How to Hang Art and Pictures without Nails/Drilling
- How to Hang Metal Wall Art With or Without Nails & Hooks
- How to Hang Acrylic Prints Wall Art
- How to Hang Canvas Prints & Paintings
- Complete Guide to Hanging Art from Ceiling: Transform Your Space with Suspended Artwork
- Wall Decor Ideas for Living Room: Modern, Elegant & Cheap Ways to Style Any Space
- 50+ Small Wall Decoration Ideas: Maximizing Tiny & Long Narrow Spaces
- Top 7 Benefits of Metal Wall Art: Why It’s Perfect for Indoor & Outdoor Spaces
- The Benefits of Canvas Wall Art: Why It’s a Must-Have for Every Home
Want more wall art ideas, room styling tips and first access to new Bruzzen collections? Join the list — free.
Subscribe Free →