
Hanging & Installation
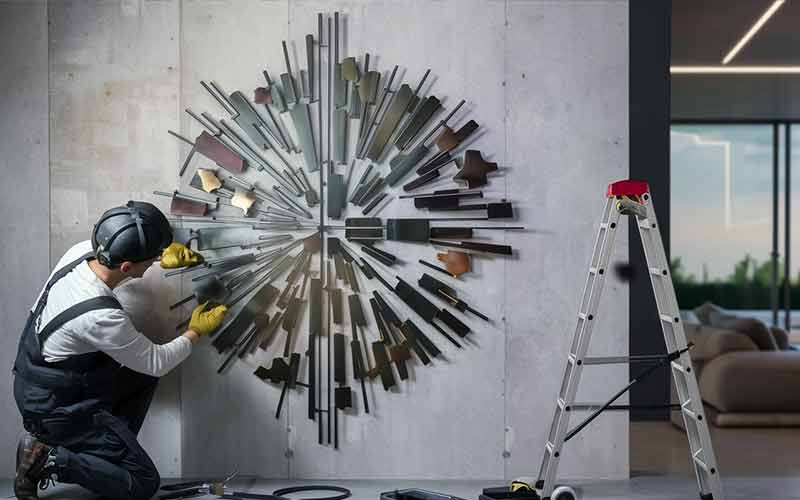
How to Hang Metal Wall Art (With or Without Hooks, Nails), Heavy pieces, In/Outdoor
Metal wall art adds texture and style to any room. But adequately installing it is vital for its looks and safety.
This guide shows you how to hang your metal art securely on the wall. We’ll cover everything you need:
- Choosing the best spot
- Getting the right tools and hardware
- Marking and measuring
- Hanging different types of metal art
You’ll learn easy techniques, whether it’s a flat sign, 3D sculpture, or heavy piece. Your art will be hanging beautifully when we’re done!
Key Points:
- Proper installation ensures metal art looks great and stays put
- The guide covers all steps from start to finish
- Learn methods for various metal art styles
- Easy to follow with visuals and examples
Let’s get started hanging your striking new metal artwork!
Preparation
Before swinging that hammer, we need to lay some groundwork. Proper preparation ensures your metal wall art hangs perfectly and safely. Let’s take it step-by-step.
Choosing the Location
Think about where you want to showcase your new artwork. What type of wall material are you working with? Drywall, plaster, brick, and wood all require different hanging methods.
Also, consider the art’s size and weight. Larger, heavier pieces need extra reinforcement into wall studs or heavy-duty anchors. Measure the dimensions and heft so you’re prepared.
Further Reading: How to Choose the Right Metal Wall Art Pieces for Your Space and Style
Next, visualize the space. You’ll want the art at an ideal viewing angle from the main sitting and standing areas. Watch for obstructions like furniture, doors, or windows, too. Move things around until you find the perfect spot!
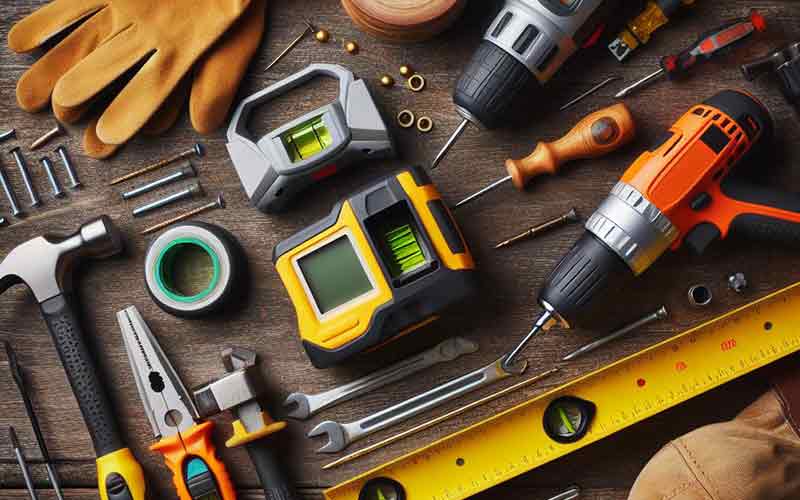
Gathering Materials
You’ll need some essential tools for this project:
- Stud finder
- Level
- Tape measure
- Drill
- Hammer
- Screwdrivers (flathead and Phillips)
- Safety gear like gloves and eye protection
As for hanging hardware, your options include:
- Nails
- Screws
- Picture hanging wire
- Hanging hooks/systems/kits
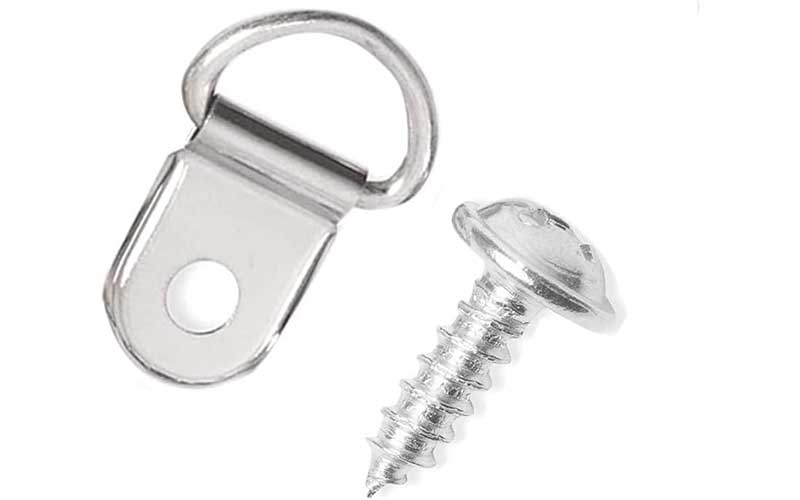
- D-ring plates
- Drywall anchors
- Sawtooth hangers
- Adhesive strips or velcro hangers
Refer to this comparison table below to determine which options are suitable based on your metal art’s weight and wall material type:
| Hanging Hardware | Weight Capacity | Suitable Wall Types |
| Picture Wire & D-Rings | Up to 50 lbs | Drywall, Plaster, Wood (into studs) |
| Sawtooth Hangers | Up to 20 lbs | Drywall, Plaster, Wood |
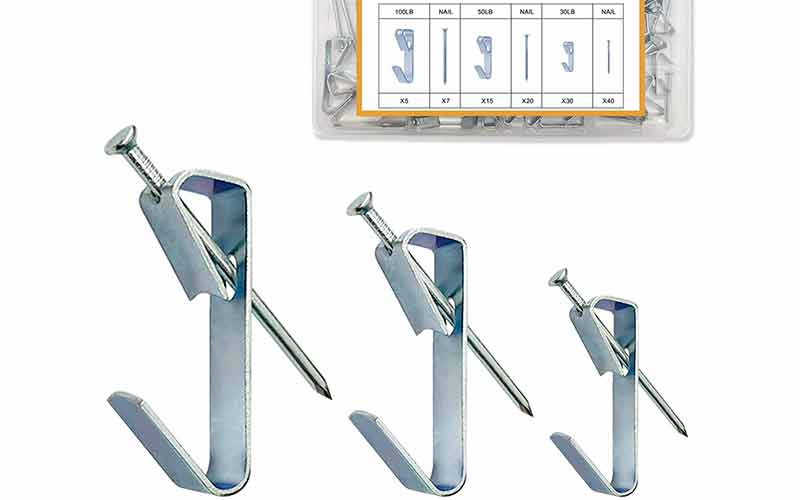
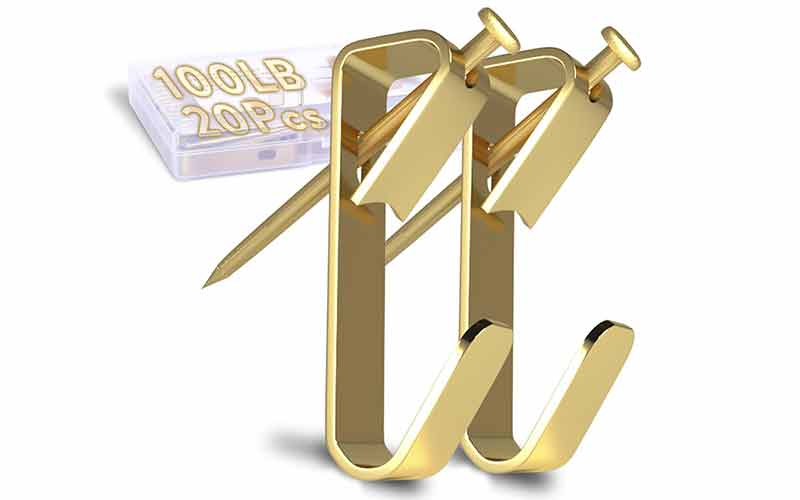
| Security Hangers | Up to 100 lbs | Drywall, Plaster, Wood (into studs) |
| Nails | Up to 25 lbs | Drywall (with anchors), Wood |
| Screws | Up to 50 lbs | Drywall (with anchors), Wood |
| Drywall Anchors | 10-50 lbs (varies) | Drywall |
| Masonry Screws/Anchors | Up to 100 lbs | Brick, Concrete, Stone |
| Adhesive Strips/Velcro | Up to 16 lbs | Drywall, Plaster, Wood, Tile |
| Magnetic Mounting Discs | Up to 25 lbs | Drywall, Plaster (behind drywall) |
| Stainless Steel Outdoor Hardware | Up to 75 lbs | Exterior Wood, Vinyl, Brick |
Notes:
- Weight capacities are estimated maximums; actual capacity depends on hardware quality.
- Use multiple attachment points to distribute weight for huge/heavy pieces
- Anchors must be adequately sized and installed into wood studs or masonry for maximum holding strength
- Adhesives should only be used per the manufacturer’s rated weight limits
- Exterior hardware should be made of rust-resistant materials like stainless steel or aluminum
Selecting the appropriate hanging hardware for your metal wall art’s weight and wall material type can ensure a safe, secure, and long-lasting installation. Always follow product instructions carefully.
Having all the right supplies on hand helps avoid frustrating stops and starts. Gather everything together so it’s ready to go!
Pro Tip: During this prep stage, snap pictures of the art from multiple angles. The images will help you visualize and plan the ideal hanging setup.
With your location selected and tools/materials rounded up, you’re prepared for the next step. Stay tuned for specific hanging techniques tailored to your metal artwork!
Hanging Metal Art Techniques-(Hooks, Nails & Hangers)
Different methods exist for hanging metal wall art based on the type, weight, and wall material. Let’s go through some common scenarios.
Unframed Metal Art
Unframed flat pieces, signs, and cutouts have some easy hanging options:
- D-rings or picture wire: Attach D-ring plates along the back edge with screws or adhesive. String a plastic wire through the rings. This evenly distributes the weight.
- Sawtooth hangers: These toothed metal hangers can nail or screw directly onto lighter art backs.
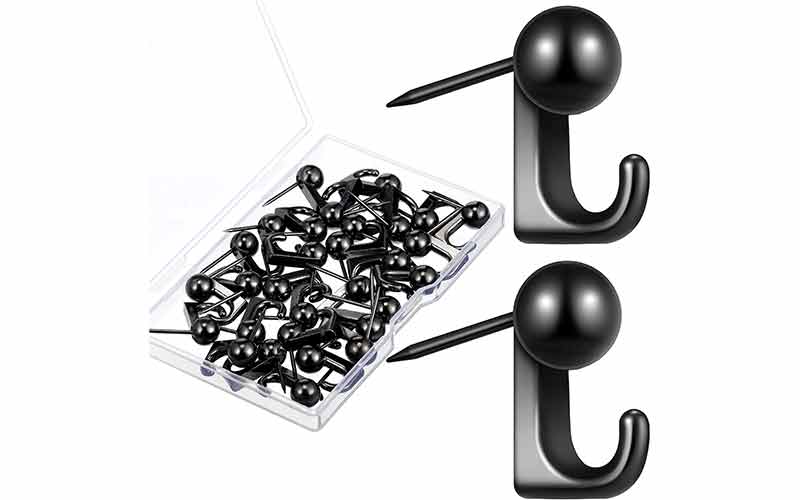
- Wall mounting hooks/kits: Many metal art pieces come with pre-installed mounting hooks or holes on the back. Use the matching wall hooks/hardware in the kit to hang securely.
Use drywall anchors if you can’t hit studs for heavier, unframed pieces. Removable adhesive strips work great for lightweight art without wall holes.
Framed Metal Art
When your metal art is framed, the frame offers stability and extra weight. Secure methods include:
- Security hangers or D-ring wire: Security hangers lock artwork firmly or use D-ring plates with taut wire.
- Multiple mounting points: Large frames need two or more points along the wire to prevent tilting.
- Locking installation hardware: Lock-tight screws or bolted hardware prevents framed pieces from shifting or falling.
Many framed pieces come with wall mounting kits that include the proper hooks, wire, and hardware for easy installation right out of the box.
Using just one anchor point in the middle may not be enough support for heavy-framed art. Multiple reinforced hanging points spread the weight better.
Outdoor Metal Art
To correctly display metal art outdoors, you’ll need weather-resistant hardware:
- Weatherproof hanging kits: Use stainless steel or aluminum rings, wire, hooks, and screws that resist rusting or corrosion.
- Sealants: Apply a clear sealant over exposed metal areas to block moisture intrusion.
- Allow expansion space: Leave a small gap so the metal can safely expand and contract with temperature swings.
Mount the art on a robust vertical surface, such as a fence or wall that can support the weight over time. Inspect it regularly for weathering and re-seal or tighten as needed.
Many outdoor metal art pieces come with specific weatherproof mounting kits, which ensure proper long-term outdoor installation and protection from the elements.
For a long-term outdoor display, regularly inspect for rust spots, loose hardware, or other weather damage and re-seal or tighten as needed.
Proper weatherproofing techniques allow you to proudly display your metal sculptures, signs, and wall hangings in your yard, garden, or exterior living spaces!
Large or Heavy Metal Art
Massive statement pieces require special hanging techniques:
- Reinforce with multiple hanging points: Add extra D-rings, wire, etc., along the back to distribute the weight better.
- Use heavy-duty anchors or hit studs: Standard drywall anchors may not cut it. Instead, opt for sturdy masonry or toggle bolt anchors.
Tip: Your best bet may be hiring a professional installer for oversized or extremely heavy art.
3D Metal Art
When your artwork has protruding parts and an uneven weight distribution, take precautions:
- Add spacers and standoffs: These will prevent the sculpted sections from scraping or denting the wall.
- Locate multiple anchor points: Determine the heaviest areas and plan your hanging points accordingly.

Flat Metal Art
Standard hanging methods are usually sufficient for basic flat signs, cutouts, or uniform-shaped metal artwork. Just make sure the hardware can adequately support the weight.
Metal Art on Brick
For brick walls, drywall anchors and nails won’t work. Opt for masonry screws with plastic anchors made for brick instead.
Hanging Metal Art Without Nails or Hooks Methods
Some situations may require not using hooks or nails while hanging your metal wall decor. There are a few reasons for this:
- Renting and not allowed to make holes
- Historic home where you want to preserve the walls
- It is merely a personal preference to have a clean, hole-free look
Here are some possible ways to hang metal wall art without nails or hooks:
- Command Strips or Adhesive Velcro Strips: These removable adhesive strips work well for lighter metal signs and artwork under a specific weight limit (check the strip ratings).
- Magnetic Mounting Discs: You can hide these screw-in magnetic discs behind the metal piece to secure them to the wall. No holes are required!
- Fishing Line Suspension: To suspend the artwork against the wall, run a clear fishing line from ceiling hooks to loops on the back of the artwork.
Here are a few tips when avoiding nails/hooks:
- Measure carefully and mark your desired location before adhering anything to the wall.
- Follow all weight limit guidelines for the adhesive strips/magnets you use.
- For heavier pieces, you may need to reinforce with multiple adhesive points.
- Check that adhesives are safe for your specific wall material.
You can achieve a seamless look with some creativity while still securely displaying your metal artwork!
You can securely display almost any metal wall art with the above hanging techniques! Next, we’ll discuss the step-by-step installation process.
How to Hang Metal Wall Art: Step-by-Step Process
Now that you understand the different hanging techniques let’s walk through the installation of your metal wall art step-by-step.
A. Finding and Marking the Ideal Location
First, decide exactly where you want the art to hang. Consider the viewing angle, wall height/size, lighting, and furniture placement.
- Use a stud finder to locate the wall studs if you need that extra support.
- Hold up the art and have someone help mark the desired hanging position with a pencil.
- Generally, the hanging position should be high on the wall surface.
- Use a level to ensure your marks are straight and even.
B. Attaching Hanging Hardware to the Art
Next, secure the appropriate hanging hardware directly onto the back of your metal art:
- For D-rings or wire plates, use screws or heavy-duty adhesive to attach them firmly.
- Nail or screw sawtooth hangers into the wooden back of a frame.
- Adhesive strips, velcro hangers, and other no-nail options can often be pressed into place.
C. Securing the Art to the Wall
Now it’s time to mount your masterpiece! The exact process will depend on the hanging method:
For hardware like D-rings or wire:
- Mark your wall based on the hardware positions on the art’s back.
- Drill pilot holes and insert plastic anchors if needed.
- Secure screws or nails through the D-rings/wire ends into the wall anchors or studs.
For adhesive strips or velcro hangers:
- Follow product instructions to clean and prepare the wall surface properly.
- Peel off the adhesive backing and press firmly into the marked hanging spot.
- Allow the recommended setting time before adding the art’s weight.
D. Final Adjustments and Stability Check
Once mounted, inspect that the art is level and appropriately positioned. Tighten any hardware and use spacers if needed to prevent wall damage.
Pull and push on the piece to test its stability and security before walking away. At this point, Make any minor adjustments.
After completing the above steps, you’ve successfully hung your metal wall art! Doesn’t it look fantastic? To keep it looking its best, check on it periodically and re-tighten any loose hardware over time.
Maintenance and Care
To keep your metal wall art looking its best for years, some regular maintenance is required. Here are some tips:
Inspection and Adjustments
Every few months, do a quick inspection of your hanging setup:
- Gently pull on the piece to check that it’s still very secure
- Look for any loose screws, nails, or shifting of the hardware
- Tighten anything that has come loose with a screwdriver or drill
Making minor adjustments periodically is much easier than re-hanging the entire artwork!
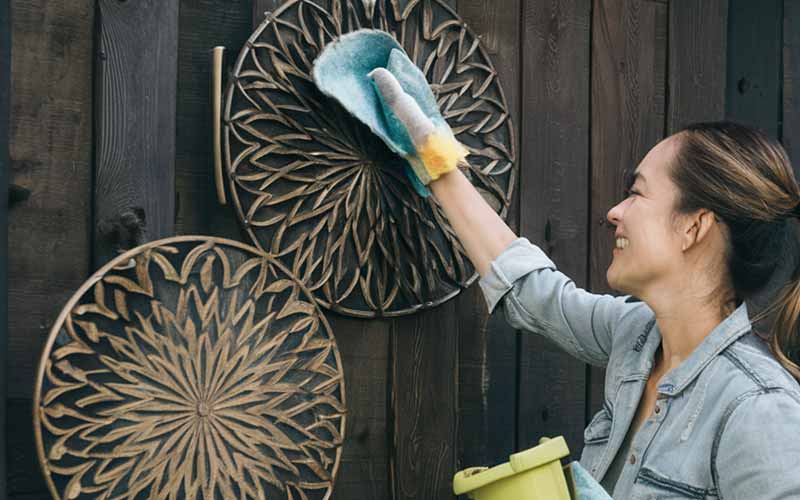
Cleaning and Preservation
Dust is your metal art’s biggest enemy. Use a dry cloth or feather duster to wipe off accumulated dust or debris gently. For stubborn spots:
- Mix a few drops of mild soap with water and dampen a microfiber cloth
- Wipe down the surface gently, avoiding abrasive scrubbing
- Dry thoroughly with a clean towel to prevent water spots
You can also use a metal polish or wax product made for the specific metal type to help protect the finish from scratches, fading, or oxidation over time.
Further Reading: How to Clean and Maintain Your Metal Wall Art Pieces
Safety Considerations
When inspecting, cleaning, or making adjustments to your hanging hardware, always put safety first:
- Use proper step stools or ladders to access high pieces
- Wear gloves to protect your hands
- Don’t overreach or hang at extreme angles that could cause falls
- Consider having someone assist with large, heavy artwork
Taking these precautions prevents injuries and avoids damaging your valuable metal art or walls.
With simple cleaning and periodic inspections, your stunning metal wall decor will continue elevating your space for a lifetime! Hang it once and enjoy it forever.
Finally, you know how to hang and care for metal wall art properly! Let’s quickly recap the key points:
Preparation is Key
- Choose the ideal location based on art size, weight, and wall material
- Gather the right tools and hardware for the job
- Measure carefully and mark your hanging points
Use the Proper Hanging Technique
- For unframed art, use D-rings, wire, sawtooth hangers, or adhesive options
- Framed pieces need secure hangers, multiple anchor points, or lock-tight hardware
- Outdoor pieces require weatherproof materials and spacing for expansion
- Large/heavy art calls for reinforced anchor points into studs
- 3D art needs spacers to prevent dents, and uneven weight distribution accounted for
Follow the Step-by-Step Process
- Find the perfect spot and mark it level
- Attach hardware to the back of the art
- Drill and anchor into the wall securely
- Make final adjustments and test stability
Keep It Looking Great
- Periodically inspect hardware and tighten anything loose
- Use proper cleaning methods to remove dust and preserve finishes
- Always prioritize safety when working on high hangings
With these tips, your metal wall art will be hung skillfully and securely. You can admire your installation with peace of mind for years and years! Enjoy the unique texture and artistry it adds to your space.