Hanging & Installation
How to Hang Acrylic Prints Wall Art: A Comprehensive Installation Guide
Acrylic wall art can transform any space with its vibrant, glass-like quality and modern appeal. Proper mounting enhances its visual impact and ensures long-term stability. This guide will cover everything you need to know for a successful installation, including planning, methods, hanging systems/tools, and special considerations.
Pre-Installation Planning
Choosing the Right Location
Choose a spot with ideal lighting, ample wall space, and an appropriate viewing distance to make your acrylic wall art look its best.
- Light Considerations: Avoid direct sunlight as it may cause colors to fade over time. Choose an area with soft, indirect lighting for optimal results, or use adjustable spotlights to accent the artwork.
- Wall Space Requirements: Measure the area to ensure enough room for the artwork to stand out without overwhelming the wall.
- Viewing Distance: Maintain a balanced distance between the artwork and viewers, allowing the intricate details to be appreciated.
- Temperature and Humidity: Acrylic is sensitive to extreme temperature and humidity changes, so keep it away from heaters, air conditioning vents, or humid areas like bathrooms.
Tools and Materials Needed
Gathering the right tools and materials will make installation smoother and safer.
- Essential Hanging Hardware: Depending on the method, you may need screws, wall anchors, standoff mounts, or French cleats.
- Recommended Tools List: Tape measure, level, drill, screwdriver, and a pencil for marking.
- Optional Equipment: Laser level, stud finder, and gloves for added precision and protection.
- Safety Equipment: Safety goggles, gloves, and a dust mask for drilling or sanding.

Wall Assessment
Different wall types require unique preparation and equipment. Here’s a quick guide to handling them.
- Types of Walls: Drywall, plaster, and concrete each have unique installation needs. For drywall and plaster, a stud finder will help locate sturdy points, while concrete walls may need masonry screws.
- Weight Considerations: Heavier pieces need more support, especially for large acrylic prints.
- Stud Finding Tips: Use a stud finder to locate studs in drywall or plaster, giving the artwork extra security.
- Surface Preparation: Clean the surface and mark the drilling points to avoid alignment issues.
- Special Considerations: Different wall types may need different anchors or screws—double-check compatibility for safety.
Installation Methods
Choosing the suitable installation method depends on your acrylic wall art’s size, weight, and desired appearance. Here’s a quick guide to the most popular methods:
Standoff Mounting
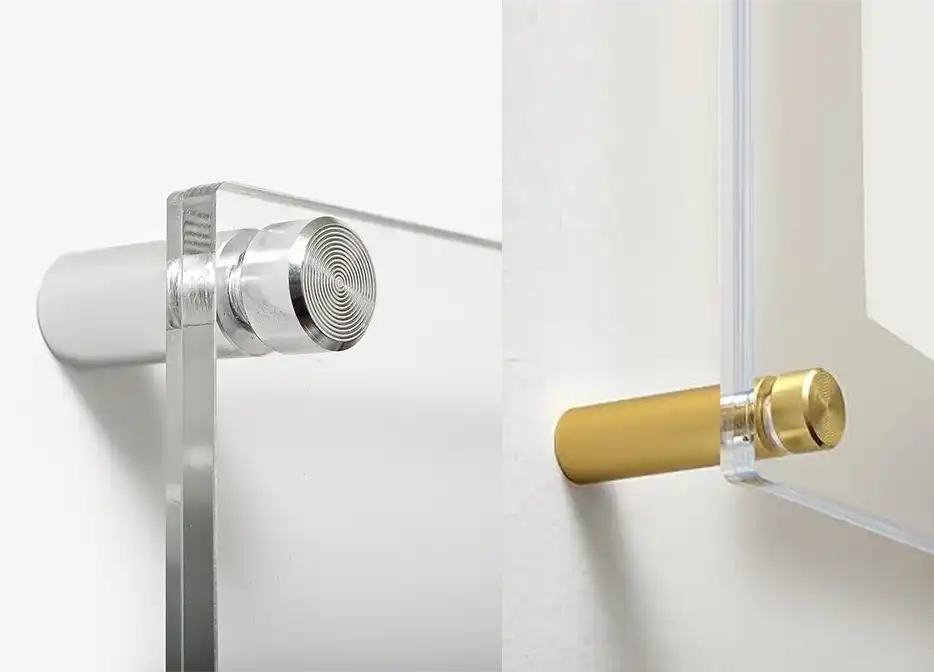
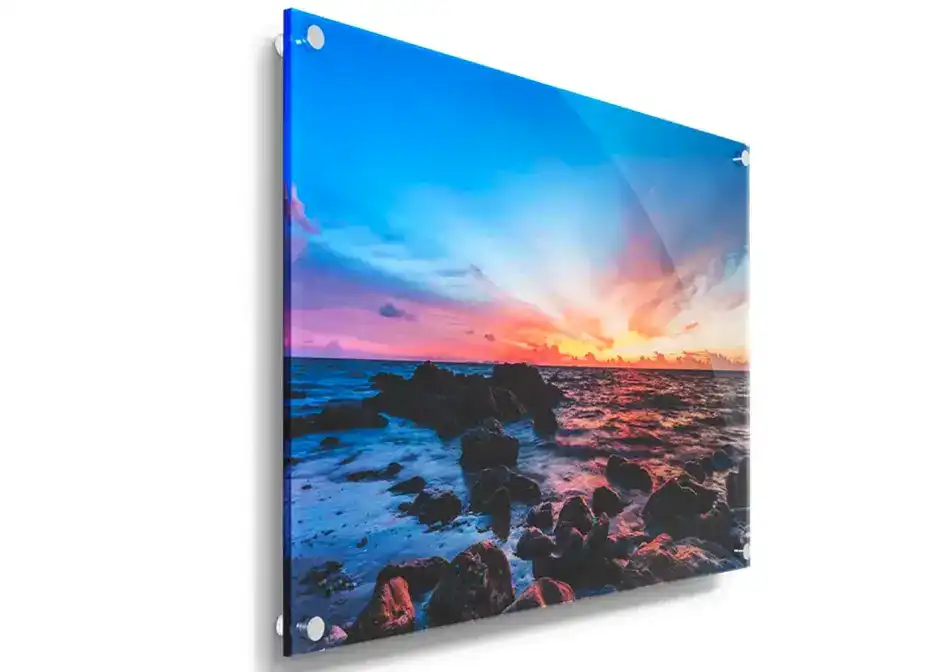
Standoff mounts create a “floating” effect, where the artwork stands slightly from the wall. This method uses spacers, or standoffs, secured at each corner, adding depth and a modern look. Standoff systems are available in various materials and finishes to complement your decor.
This method is excellent for larger, heavier pieces but requires precise drilling.
Pros include a unique aesthetic and durability; however, they can be more complex to install.

French Cleat System
French cleats offer a robust interlocking system supporting heavy acrylic art pieces. One cleat attaches to the wall, and the other to the back of the artwork, allowing it to slide securely into place.
This method is sturdy, discreet, and perfect for large, valuable pieces. It requires careful leveling, but its strength makes it a popular choice for professional installations.
Direct Mounting
Direct mounting is simple, with the artwork lying flush against the wall using screws or brackets. It’s ideal for lightweight or smaller pieces, providing a streamlined look without added hardware.
Flush mounts work well in tight spaces or where a minimalistic look is desired, though they offer less dramatic depth than other methods.
Step-by-Step Installation Guide
Preparation Phase
- Measuring and Marking: Accurately measure and mark where your hardware will go.
- Level Checking: Use a level to ensure marks are even.
- Hardware Preparation: Have all screws and anchors ready.
- Wall Protection Tips: Protect your wall by double-checking measurements before drilling.
Installation Process
- Wall Marking: Mark where each screw will go.
- Hardware Mounting: Drill or screw in the necessary hardware.
- Level Checking: Re-check with a level for accuracy.
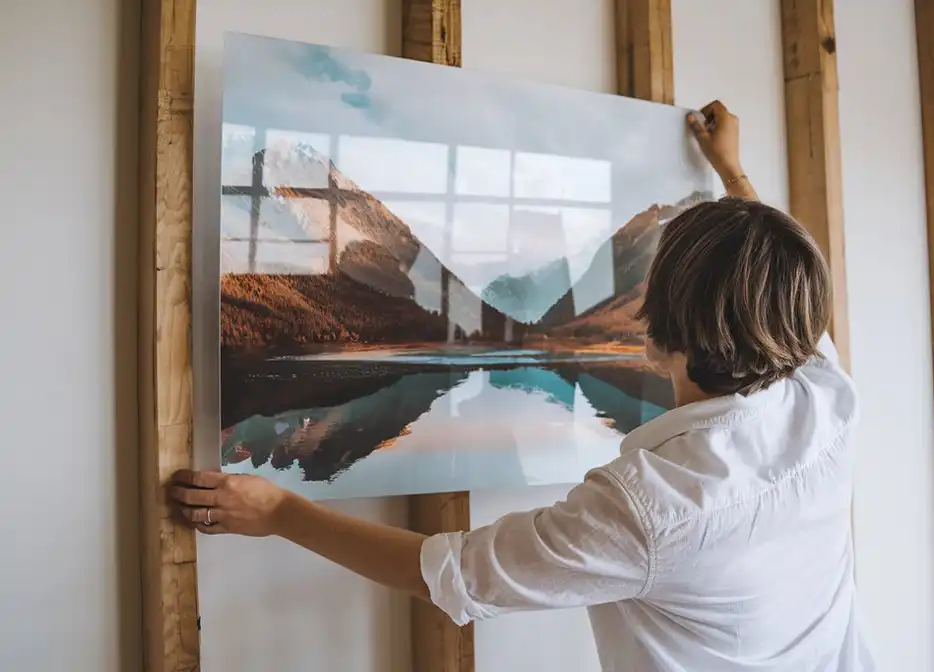
- Securing the Artwork: Attach the acrylic print to the hardware carefully.
- Final Adjustments: Step back and adjust to perfection!
Safety Considerations
- Weight Limits: Be mindful of the weight limits of your chosen mounting method.
- Proper Anchoring: Use sturdy anchors for heavy pieces.
- Child Safety: Ensure artwork is secure if hung in areas accessible to children.
- Earthquake Considerations: Extra wall attachments or earthquake-resistant mounts are recommended in earthquake-prone areas.
- Insurance Recommendations: Valuable art may require insurance; check your policy or consider additional coverage.
Special Considerations
Multi-Panel Installation
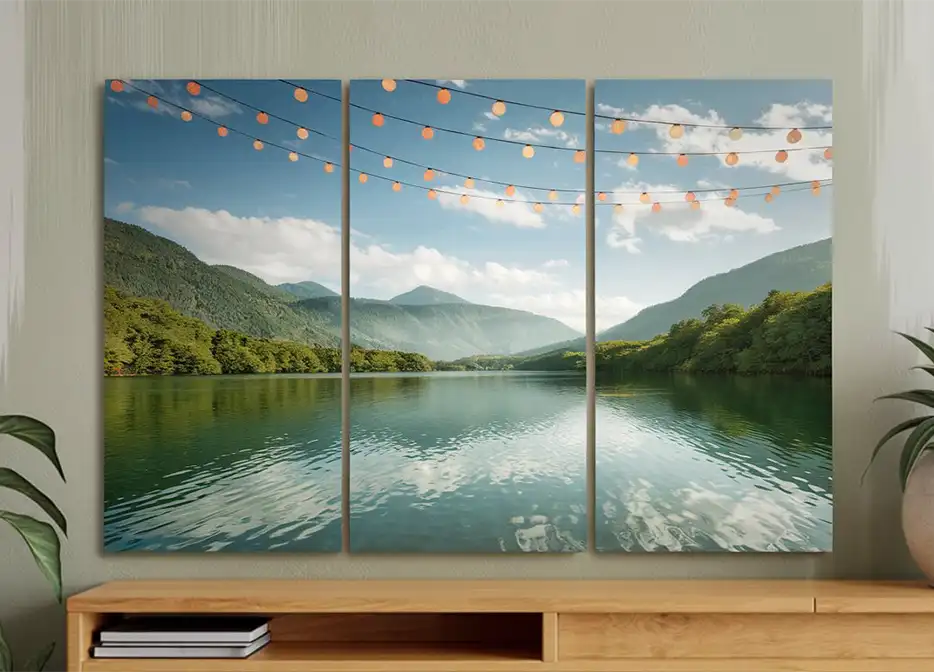
Ensure even spacing and proper alignment for multiple pieces for a cohesive look. Use a level to align each piece and coordinate hardware for consistency.

Large Format Pieces
Oversized acrylic prints may need additional wall support or professional installation to avoid damage or mishaps.
Maintenance and Care
Keep your artwork in top condition by following these simple care tips.
- Cleaning Instructions: Clean the acrylic surface with a soft, damp cloth. For a deep cleaning, use an acrylic-specific cleaning solution.
- Hardware Checks: Periodically check hardware to ensure everything is secure.
- Periodic Adjustments: Small shifts may occur over time, so check alignment occasionally.
- Long-Term Care: Avoid exposure to high humidity or temperature changes.

Troubleshooting
Common issues can be quickly resolved with these solutions.
- Common Problems: Artwork may tilt or shift over time; adjust hardware or add stabilizers as needed.
- Solutions: For minor scratches, use acrylic polish; for loose screws, re-tighten and reinforce.
- When to Call Professionals: If the piece is weighty or in a tricky location, it may be best to hire a pro.
- Emergency Fixes: Use double-sided mounting tape as a temporary solution for urgent issues.
Hanging acrylic wall art takes planning and care, but with these steps, you’ll create a stunning display that lasts. Proper installation and maintenance keep your artwork beautiful and secure for years.
Further Reading

