

Maintenance, Blog
Complete Guide to Metal Wall Art Cleaning, Rust Protection, and Maintenance
Metal wall art adds beauty to any room or outdoor space. Sales of metal decor have grown 200% in five years. These pieces come in different metals like aluminum, copper, steel, and brass.
Taking care of your metal art keeps it looking great. Without proper care, your art can get tarnished, rusty, or damaged. This guide shows you how to clean and protect your metal wall art.
Contents
Why Proper Maintenance Matters
Metal wall art costs money. Good care protects your investment. Clean art lasts longer and keeps its value.
Dirt, dust, and moisture can damage metal over time. Regular cleaning stops small problems from becoming big ones. Your art will stay beautiful for many years with proper care.
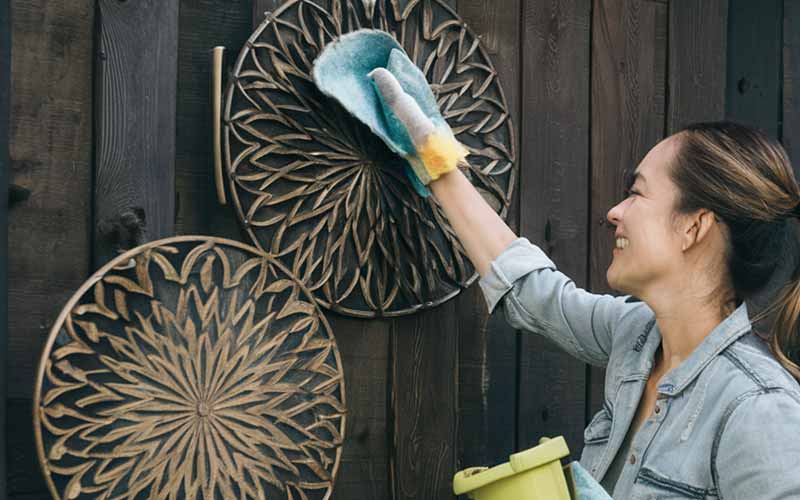
What Happens Without Care
Neglect causes several problems:
- Tarnish makes metal look dull and lifeless
- Rust eats through metal, creating holes
- Colors fade or change completely
- Original finish disappears
- Value drops by 50% or more
- Art may need costly repairs or replacement
- Structural integrity weakens over time
The cost of restoration often exceeds the original purchase price. Prevention saves hundreds or thousands of dollars.
Financial Benefits of Maintenance
Proper care provides real financial returns:
- Maintains resale value
- Prevents expensive professional restoration
- Extends artwork lifespan by decades
- Reduces need for early replacement
- Preserves investment for future generations
Understanding Different Metals
Different metals need different care. Know what your art is made of before cleaning. Check labels, receipts, or ask the seller about the metal type.
| Metal Type | Characteristics | Common Issues | Care Level |
| Aluminum | Lightweight, silver color | White spots, pitting | Easy |
| Copper | Reddish-brown when new | Green patina, tarnish | Moderate |
| Brass | Golden yellow color | Black tarnish, dullness | Moderate |
| Steel | Heavy, magnetic | Rust, orange spots | Hard |
| Stainless Steel | Shiny, non-magnetic | Water spots, fingerprints | Easy |
| Bronze | Dark brown color | Green patina, corrosion | Moderate |
Raw Metals
These metals have no protective coating:
- Steel and iron rust easily when exposed to moisture. They show orange or brown spots first.
- Copper turns green over time due to oxidation. This green color is called patina.
- Aluminum gets white spots and pitting. The metal becomes rough and chalky.
- Bronze develops dark patches and green areas. The surface becomes uneven.
Raw metals need the most protection. They react quickly to air and moisture. Without care, damage appears within weeks.
Painted and Powder-Coated Metals
These have protective finishes applied during manufacturing:
- Painted surfaces use liquid paint that can chip easily
- Powder coating creates a harder, more durable finish
- Colors can fade from sunlight exposure
- Scratches expose bare metal underneath
- Need gentle cleaning to avoid damage
- Repairs require matching paint colors
Coated metals last longer but need careful handling. The coating protects the metal but can be damaged by rough cleaning.
Polished Finishes
Shiny metals need special care:
- Mirror finish shows every fingerprint and water spot
- Brushed finish has fine lines that can be damaged
- Satin finish has a soft glow that dulls easily
- Scratches show easily and are hard to repair
- Need proper polishing products designed for metal type
- Require frequent cleaning to maintain appearance
Polished finishes look beautiful but need daily attention to stay perfect.
Daily Cleaning Steps
Clean your metal art weekly to prevent buildup. Daily dusting takes only minutes but prevents major problems.
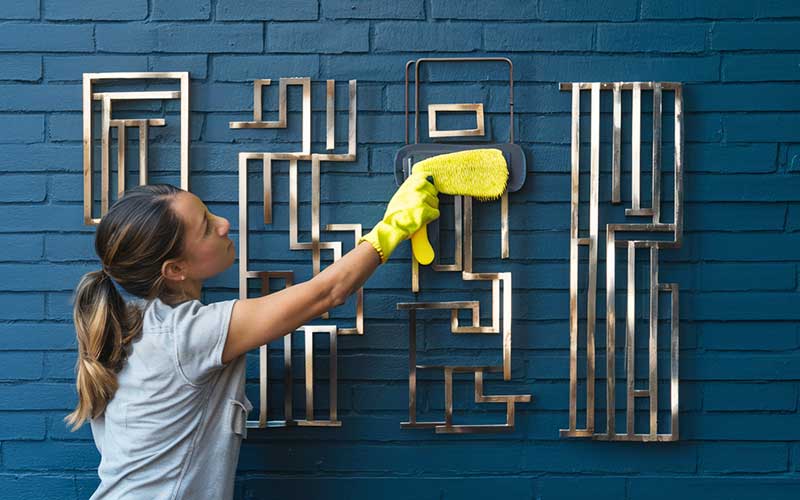
Basic Dusting Techniques
Microfiber cloths work best for regular dusting:
- Trap dust particles instead of moving them around
- Don’t scratch delicate surfaces
- Wash and reuse many times
- Available at grocery and hardware stores
Dusting frequency by location:
- High-traffic areas: Every 2-3 days
- Normal rooms: Weekly
- Low-traffic areas: Every 10 days
- Outdoor pieces: Every 3-5 days
Use light pressure and work from top to bottom. Fold the cloth to create clean surfaces as you work.
For detailed areas, use these tools:
- Soft paintbrush for corners and crevices
- Cotton swabs for tiny spaces
- Compressed air for hard-to-reach areas
- Makeup brush for delicate textures
Removing Fingerprints and Smudges
Create a gentle cleaning solution:
- 1 quart warm water
- 2 drops mild dish soap
- Mix gently to avoid bubbles
Cleaning process:
- Damp microfiber cloth in solution
- Wring out excess water completely
- Wipe the metal surface gently
- Follow with a dry cloth immediately
- Check for water spots
Never let water sit on metal surfaces. Even clean water can cause spots and initiate rust formation.
Safe Cleaning Products and Solutions
Homemade cleaners work well and cost less:
| Cleaner Type | Recipe | Best For | Avoid On |
| General Purpose | Warm water + mild soap | All metals | None |
| Tarnish Remover | Baking soda + water paste | Copper, brass, aluminum | Painted surfaces |
| Light Rust | White vinegar + water (50/50) | Steel, iron | Aluminum, copper |
| Polish Cleaner | Lemon juice + salt | Brass, copper | Painted finishes |
Commercial products to consider:
- Weiman Metal Polish for multiple metal types
- Brasso for brass and copper pieces
- Bar Keepers Friend for stainless steel
- Wright’s Silver Cream for silver-plated pieces
Products to Never Use
These products cause permanent damage:
Dangerous cleaners:
- Bleach (causes pitting and discoloration)
- Ammonia (creates toxic fumes with some metals)
- Abrasive powders (scratch surfaces)
- Steel wool (leaves metal particles that rust)
- Unknown chemicals (unpredictable reactions)
Unsafe tools:
- Rough scrubbers or scouring pads
- Wire brushes (except for heavy rust removal)
- Sharp objects for scraping
- Power washers (too much pressure)
Dealing With Rust and Tarnish (Oxidation & Discoloration)
Even clean metal can develop problems over time. Each metal type needs different treatment approaches.
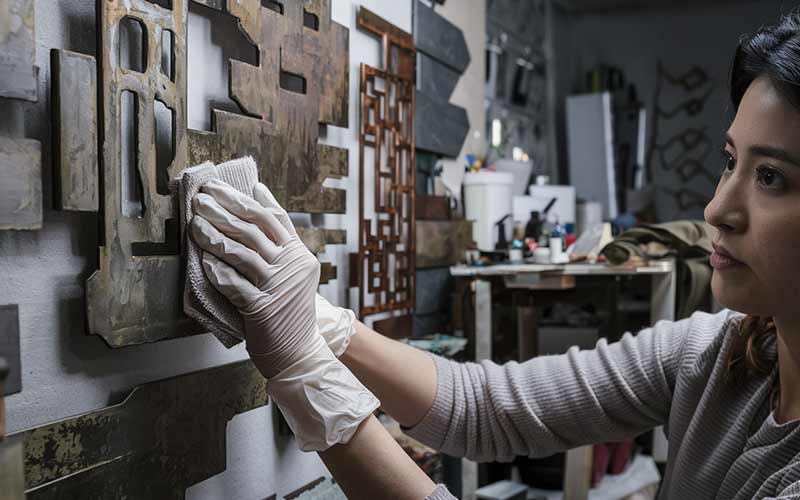
Understanding the Problems
Rust formation stages:
- Stage 1: Light orange dusting
- Stage 2: Solid orange or brown spots
- Stage 3: Flaking and pitting
- Stage 4: Holes and structural damage
Tarnish development:
- Starts as a slight dulling
- Progresses to color changes
- Eventually becomes a thick buildup
- Can become permanent without treatment
Aluminum Treatment Methods
Aluminum develops white, chalky spots called oxidation. This isn’t rust, but it looks bad and feels rough.
For light oxidation:
- Mix 2 tablespoons of cream of tartar with 1 tablespoon of lemon juice
- Make a smooth paste
- Apply with a soft cloth using circular motions
- Let it sit for 5 minutes
- Rinse with clean water and dry immediately
For stubborn spots:
- Mix baking soda with a small amount of water
- Create a thick paste consistency
- Apply to problem areas
- Let it sit for 10 minutes
- Scrub gently with a soft brush
- Rinse thoroughly and dry
Prevention tips:
- Keep aluminum dry
- Apply car wax every 6 months
- Store indoors during winter
- Clean regularly before problems start
Copper and Brass Restoration
These metals turn green (verdigris) or black from exposure to air and moisture. The discoloration can be attractive or unwanted depending on your preference.
Traditional cleaning paste recipe:
- 1 part salt
- 1 part white vinegar
- 1 part all-purpose flour
- Mix into a smooth paste
Application steps:
- Clean the surface of loose dirt first
- Apply the paste with a soft cloth
- Work in small circular motions
- Let it sit for 3-5 minutes
- Rinse with warm water
- Dry immediately with a soft towel
- Polish with a dry cloth for shine
Alternative methods:
| Method | Materials | Time Required | Best For |
| Ketchup | Regular ketchup | 10-15 minutes | Light tarnish |
| Lemon + Salt | Fresh lemon, coarse salt | 5-10 minutes | Moderate tarnish |
| Commercial Polish | Brasso or Wright’s | 5 minutes | Heavy tarnish |
| Vinegar Soak | White vinegar | 2-8 hours | Severe buildup |
Steel and Iron Rust Removal
Iron and steel rust quickly without protection. Address rust spots immediately to prevent spreading.
Light surface rust:
- Make a thick paste with baking soda and water
- Apply to rusty areas
- Scrub with a soft brush in circular motions
- For stubborn spots, let the paste sit for 15 minutes
- Rinse completely and dry immediately
- Apply protective coating right away
Heavy rust treatment:
- Soak the affected area in white vinegar for 4-8 hours
- Scrub with fine steel wool (grade 0000)
- Use a wire brush for thick rust buildup
- Rinse thoroughly with clean water
- Dry completely with towels and a hair dryer if needed
- Apply the rust converter product for severe cases
- Prime and paint or seal immediately after cleaning
Rust prevention steps:
- Check metal monthly for early signs
- Keep metal surfaces dry
- Apply protective wax every 3 months
- Use a dehumidifier in damp areas
- Fix coating chips immediately
Stainless Steel Care
Stainless steel resists rust but can stain and lose its shine. Water spots and fingerprints show easily on polished surfaces.
Regular cleaning:
- Use a mild soap and warm water solution
- Wipe with grain direction, not against it
- Dry immediately to prevent water spots
- Polish with a dry microfiber cloth
Stain removal:
- Apply baking soda paste to stained areas
- Let it sit for 5-10 minutes
- Rub gently with a soft cloth
- Rinse and dry thoroughly
- Use commercial stainless steel cleaner for best results
Maintaining shine:
- Clean fingerprints daily
- Use glass cleaner for streak-free results
- Apply stainless steel polish monthly
- Buff with a clean, dry cloth after polishing
Protecting From Moisture
Water damage causes most metal art problems. Humidity in the air also creates issues over time. Control moisture to prevent expensive damage.
Understanding Humidity Effects
Ideal humidity levels:
- 30-40%: Perfect for most metals
- 41-50%: Acceptable with good air circulation
- 51-60%: Monitor closely for problems
- Over 60%: Take immediate action
High humidity problems:
- Accelerates rust formation
- Increases tarnish development
- Creates condensation on metal surfaces
- Promotes mold growth on frames
- Damages protective coatings
Low humidity issues:
- Causes paint cracking
- Makes metal brittle
- Increases static electricity buildup
- It can cause expansion and contraction damage
Humidity Control Methods
Mechanical solutions:
- Dehumidifiers: Remove excess moisture from the air
- Air conditioners: Control both temperature and humidity
- Fans: Improve air circulation
- Ventilation systems: Bring in dry outside air
Natural methods:
- Silica gel packets: Absorb moisture in small areas
- Activated charcoal: Reduces humidity naturally
- Proper ventilation: Open windows during dry weather
- Heat sources: Gentle warming reduces condensation
Monitoring tools:
- Digital hygrometers measure humidity accurately
- Data loggers track changes over time
- Wireless sensors monitor multiple rooms
- Smart home systems provide alerts
Room Selection Guidelines
Best locations for metal art:
- Living rooms with good air circulation
- Bedrooms with climate control
- Hallways away from exterior doors
- Dining rooms with stable temperatures
Locations to avoid:
| Location | Problem | Risk Level | Alternative |
| Bathroom | High humidity | Very High | Use an exhaust fan, sealed frame |
| Kitchen | Steam, grease, temperature changes | High | Choose stainless steel pieces |
| Basement | Dampness, poor circulation | Very High | Install dehumidifier first |
| Attic | Temperature extremes | High | Climate control required |
| Near windows | Condensation, sun exposure | Moderate | Use window treatments |
| Exterior doors | Draft, humidity changes | Moderate | Add weather stripping |
Protective Coatings Application
Clear protective coatings create barriers against moisture and air. Different coatings work better for different metals and environments.
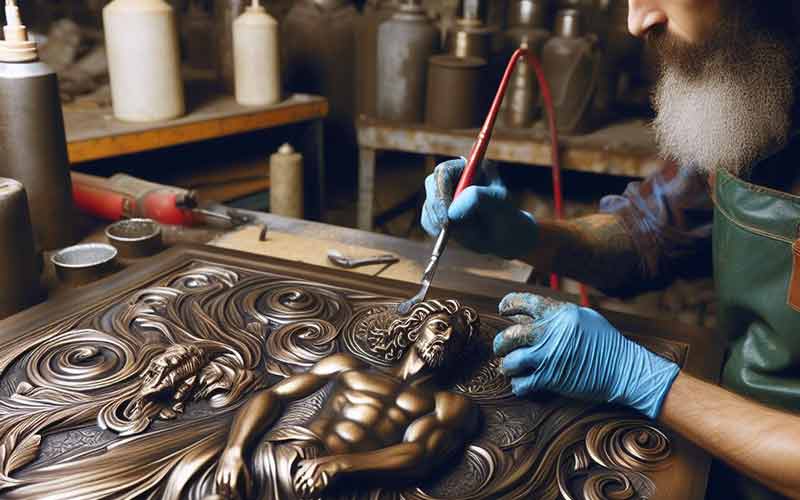
Coating types:
Acrylic sealers:
- Easy to apply with a brush or spray
- Good for indoor pieces
- Need reapplication every 1-2 years
- Available in gloss or matte finishes
Polyurethane coatings:
- Very durable protection
- Best for outdoor pieces
- Harder to apply evenly
- Last 3-5 years with proper application
Wax coatings:
- Traditional protection method
- Easy to apply and remove
- Need frequent reapplication
- Give a warm, natural appearance
Marine-grade coatings:
- Maximum protection for harsh environments
- Expensive but very durable
- Professional application recommended
- Last 5-10 years
Application tips:
- Clean metal completely before coating
- Work in a dust-free environment
- Apply thin, even coats
- Allow complete drying between coats
- Follow the manufacturer’s temperature recommendations
Outdoor Metal Art Protection
Outdoor pieces face harsh conditions. Rain, sun, salt air, and temperature changes all cause damage. Extra protection prevents costly repairs.
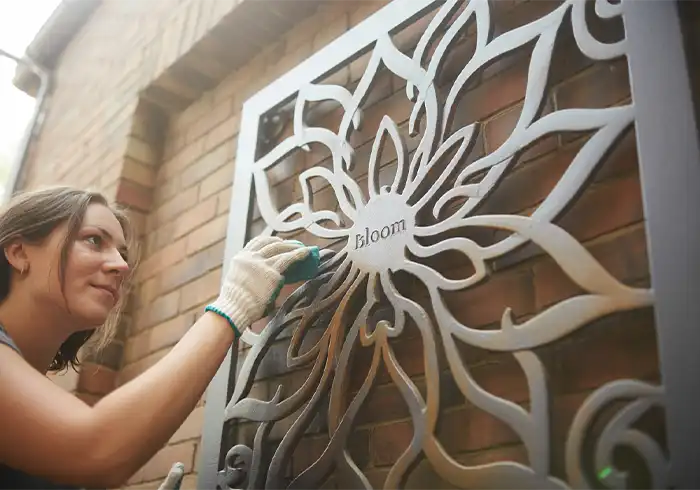
Weather Challenge Assessment
Environmental factors:
| Factor | Damage Type | Prevention | Frequency |
| Rain | Rust, water spots | Protective coating | Check after storms |
| Sun/UV | Fading, coating breakdown | UV-resistant finish | Inspect monthly |
| Snow/Ice | Freeze damage, salt corrosion | Winter storage/covering | Seasonal care |
| Wind | Physical damage, debris | Secure mounting | Check connections |
| Salt Air | Accelerated corrosion | Marine-grade protection | Monthly cleaning |
| Pollution | Chemical damage, staining | Regular cleaning | Weekly in cities |
Choose Strong Metals
Best outdoor metals (in order):
- Marine-grade stainless steel: Resists all weather
- Aluminum alloys: Lightweight, good corrosion resistance
- Bronze: Develops protective patina naturally
- Copper: Beautiful aging, very durable
- Galvanized steel: Zinc coating provides protection
Metals to avoid outdoors:
- Plain carbon steel (rusts quickly)
- Cast iron without coating (very prone to rust)
- Tin-plated metals (coating wears off)
- Cheap painted steel (paint fails in weather)
Best Clear Coats for Outdoors
Everbrite Clear Coat works on all metals. It brings back shine to dull surfaces. Apply by brush, spray, or cloth.
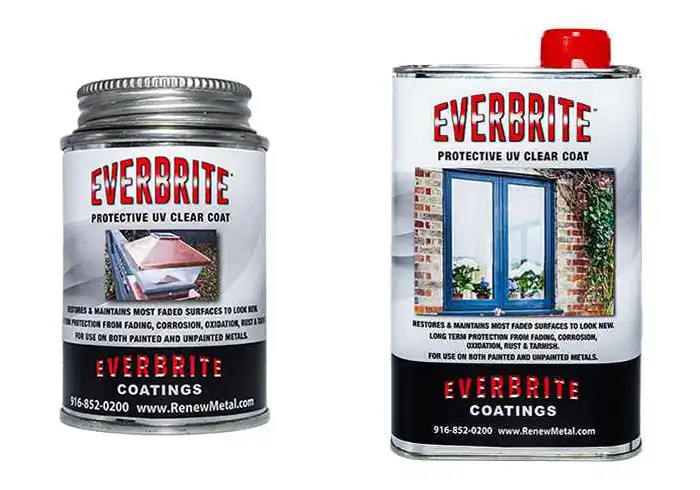
Rust-Oleum Sprays cost less and block sun damage. Buy at hardware stores. Choose shiny or flat finish.
Nyalic Sealer lasts longest but costs more. Professional installers use this product.
Protection Steps
- Clean First – Remove all rust with a wire brush. Wash with soap and water. Let dry completely.
- Apply Primer – Use rust-stopping primer on clean metal. This helps the clear coat stick better.
- Add Clear Coat – Put on two thin coats. Wait for the first coat to dry before adding the second.
- Maintain Regularly – Check twice per year. Clean with mild soap. Add a new clear coat every 1-2 years.
Quick Protection Options
- Car wax gives short-term protection
- Rust-Oleum Clear Enamel stops rust fast
- Aerosol sprays work for detailed areas
Safe Handling and Storage
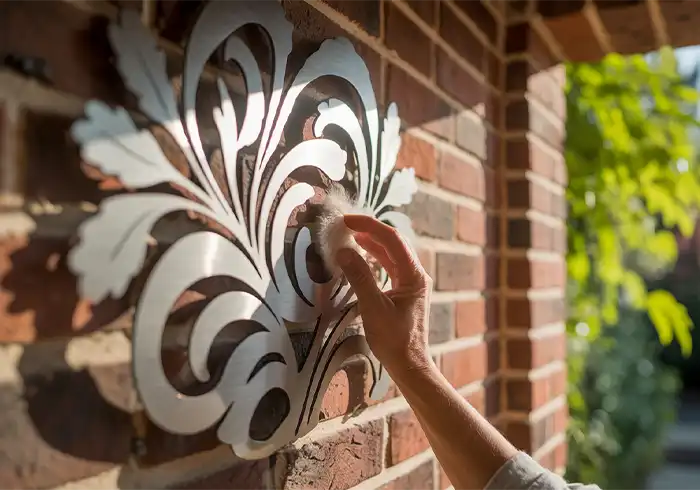
Move metal art carefully to avoid damage.
Moving Art
Wear clean gloves to avoid fingerprints. Get help with large pieces. Wrap each piece in acid-free paper or cloth.
Never stack pieces on top of each other. Secure the art so it can’t shift during transport.
Storage Tips
Store in cool, dry places. Wrap pieces separately. Don’t use plastic wrap – it traps moisture.
Use archival storage boxes for valuable pieces. Check on stored art every few months.
When to Call Professionals
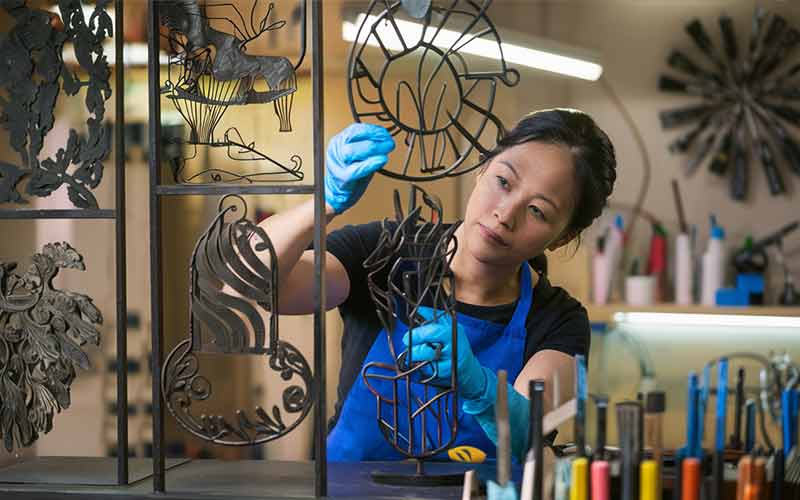
Some situations need expert help:
- Very valuable or rare pieces
- Heavy damage or rust
- Unknown metal types
- Antique or historical art
Look for art restoration specialists. Check their experience with metal art. Read customer reviews before hiring.
Professional cleaning costs more but protects valuable pieces. The investment saves money compared to replacing damaged art.
Maintenance Schedule
Follow this timeline for best results:
Weekly: Dust with a microfiber cloth
Monthly: Check for new problems. Clean fingerprints and spots.
Every 6 Months: Deep clean with soap and water. Check protective coatings.
Yearly: Apply new protective coats. Professional inspection for valuable pieces.
As Needed: Address rust or tarnish right away. Don’t wait for problems to get worse.
Warning Signs to Watch For
Check your metal art for these problems:
- Orange or brown spots (rust starting)
- White powder on the surface (corrosion)
- Dull or faded appearance
- Flaking protective coating
- Water spots that won’t clean
Address problems quickly. Early treatment prevents expensive damage.
Cost-Effective Care Tips
Save money with smart maintenance:
- Clean regularly to prevent major problems
- Buy cleaning supplies in larger sizes
- Learn to do basic maintenance yourself
- Group purchases with neighbors for professional products
- Take photos when the art is new to track changes
Further Reading:
- How to Hang Metal Wall Art like a Pro
- +8 Tips to Choose the Perfect Metal Wall Art Pieces
- Creative Metal Wall Art Ideas for Outdoor Spaces
- Top 7 Benefits of Metal Wall Art: Why It’s Perfect for Indoor & Outdoor Spaces
- Acrylic vs Metal Prints: A Comprehensive Comparison Guide
- Metal vs. Canvas Prints: Picking the Best Wall Art Material for Your Budget & Style
Final Thoughts
Proper care keeps metal wall art beautiful for years. Start protection early – prevention costs less than repairs.
Choose quality products like Everbrite for outdoor pieces. Clean regularly and reapply protection when needed.
With good maintenance, your metal art will stay stunning and valuable for generations to come.
Want more wall art ideas, room styling tips and first access to new Bruzzen collections? Join the list — free.
Subscribe Free →